One of the most important car troubleshooting skills a driver has to learn is how to change tires. It might seem challenging for some but with the proper tools and know-how, getting a flat tire while on the road is manageable.
Here is a step-by-step guide to tire changing:
-
Pull over the side of the road.
When you notice that you have a flat tire while you are driving, slowly and cautiously drive to a safe spot so other cars will not hit you or your car. Choose a flat surface and pull the handbrake so the vehicle will not roll. Turn on the hazard lights as well.
-
Get the spare tire and tools.
Go to the trunk of your car to get the tire wrench, hydraulic jack, spare tire and warning device. Place the device at the rear of your car so it will be visible to on-going traffic.
-
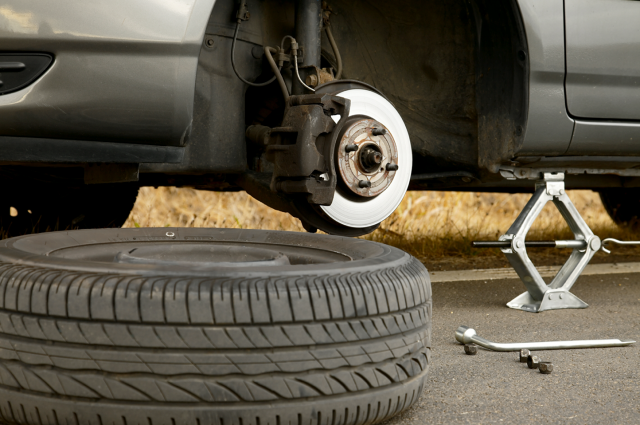
Change the tire.
Lay the spare tire on the side and loosen the lugs of the tire that needs to be replaced. Do so by turning the wrench counter-clockwise. However, don’t remove them yet so the tire will not fall off. Place the car jack under the chassis and use it to lift the car. Ensure that you place the jack on the right spot to avoid any untoward incident. Once the car is lifted, remove the lugs and the flat tire. Place the spare tire and push it towards the wheel base and replace the lugs. Do not screw them tightly this time, just secure enough to keep the tire from falling off.

-
Tighten the lugs.
Gently lower the car on the surface and tighten the lugs. Do not tighten one lug all the way at one time. Tighten one lug mid-way and go to the opposite lug. Do this until all the lugs are secure so you can tighten them all the way.
-
Wrap up the job.
Once you are done, return all the tools and the flat tire in the trunk and drive to the nearest service station to fix the damaged tire.
Changing a flat tire is not that hard. It can even be a workout you need.